Design photos
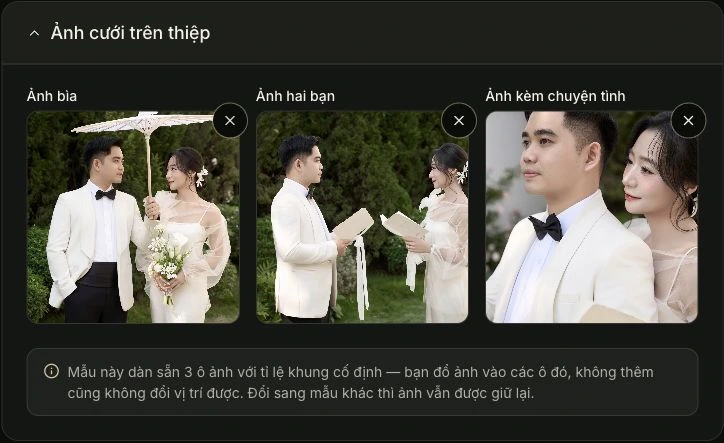
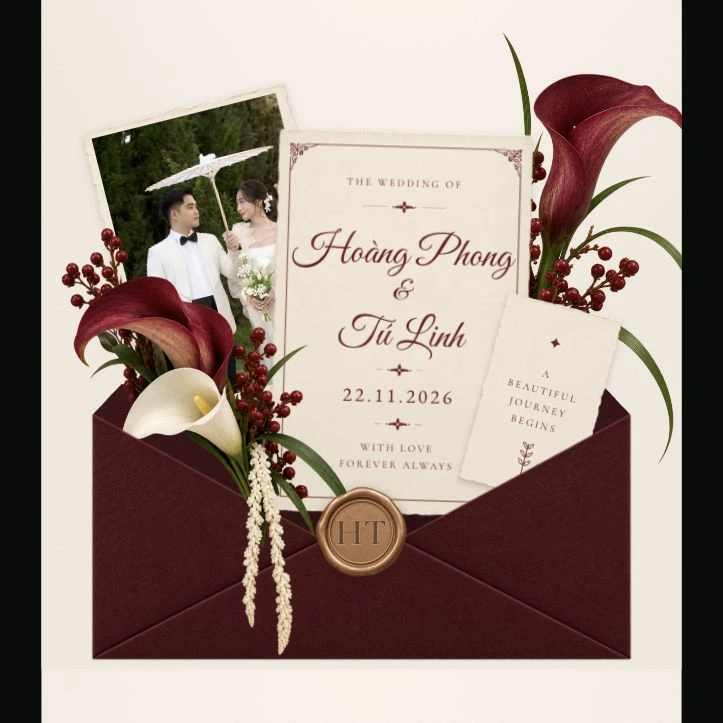
Cover photo. Appears in the polaroid on the left of the red envelope at the start of the invitation.
Guide
Compare the editor with the invitation, using real screenshots of Hoàng Phong & Tú Linh’s Burgundy Red invitation.
EDITOR → INVITATION
Choose a chapter and a field. The left screenshot shows where to enter it; the right shows what guests see.
4Matching red numbers identify the same content in both screenshots.
Cover photo. Appears in the polaroid on the left of the red envelope at the start of the invitation.
Greeting. “Trân trọng kính mời” appears below the couple’s names on the cover, and on the opening screen of the general invitation link.
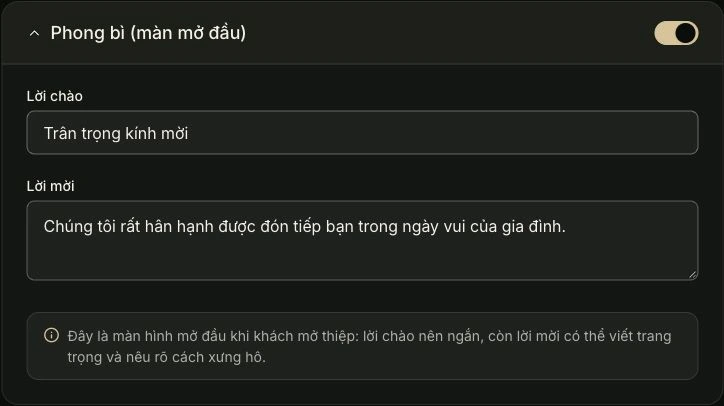
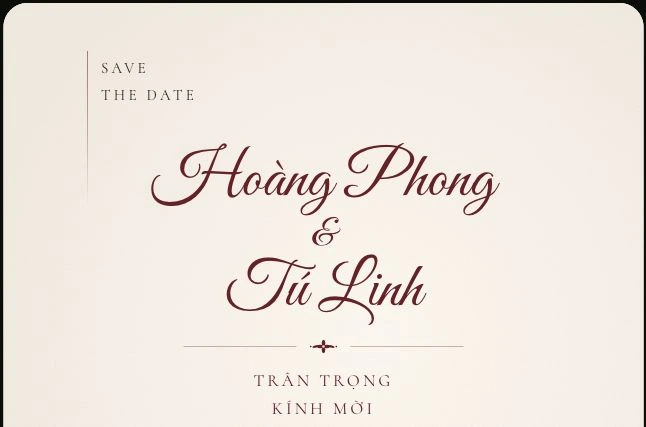
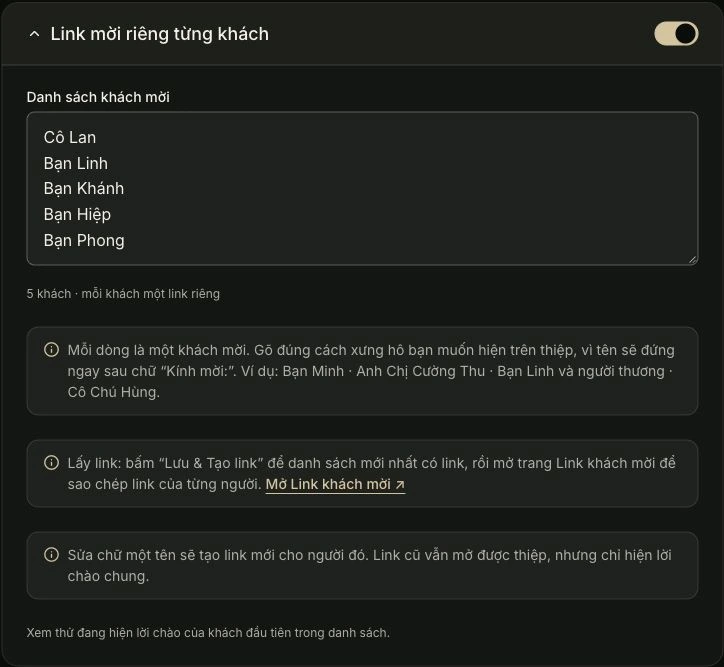
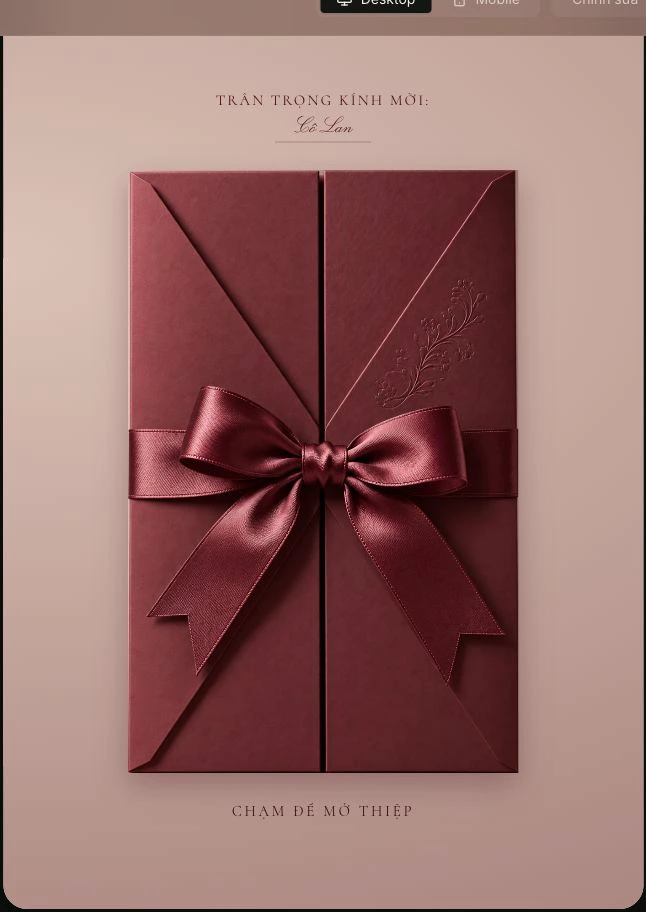
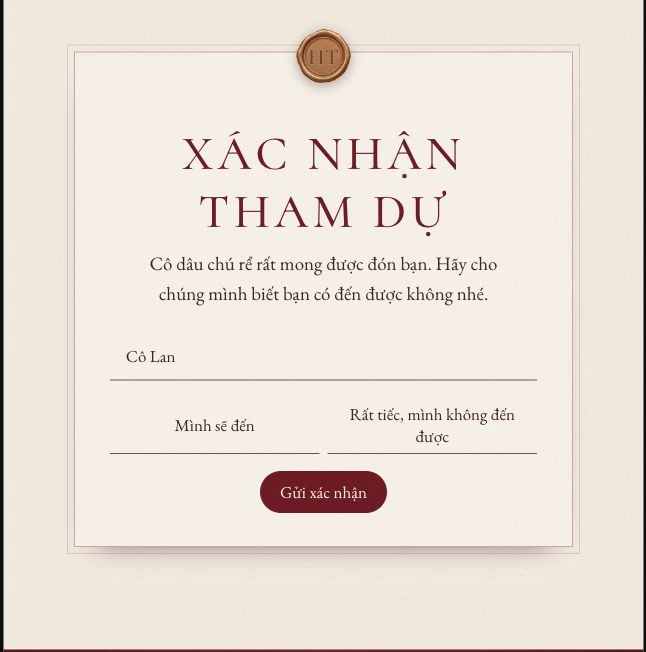
Guest list. One guest per line. “Cô Lan” appears on the opening screen of her personal link. The editor preview uses the first guest. Save, then copy each link from My invitations → Guest links.
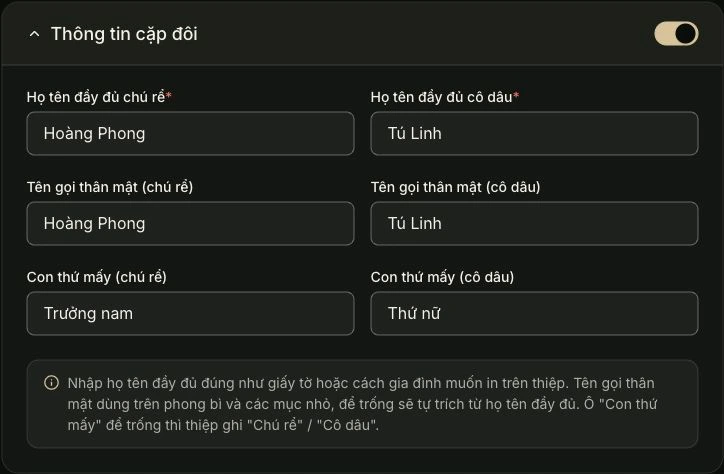
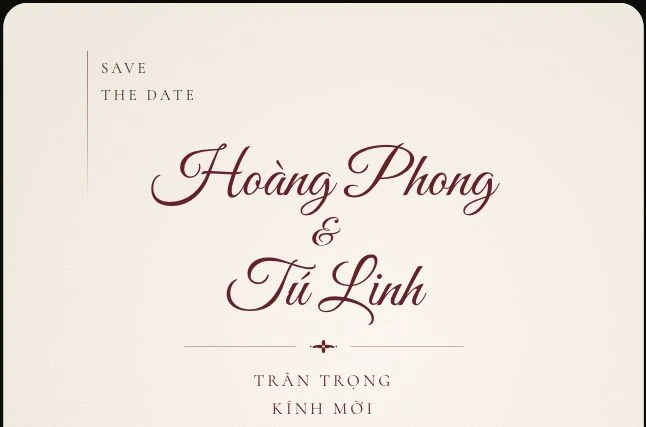
Groom’s full name. Enter the full name. Burgundy Red uses the nickname (9) on its cover; if that is blank, it derives a short name from this field. This design has no separate full-name line.
Groom’s father. Appears after “Ông” in the groom’s family column. Enter the name without adding the title.
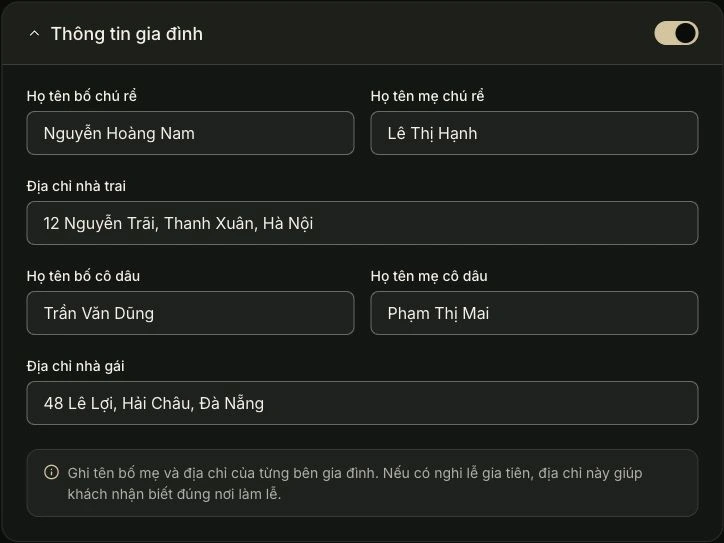
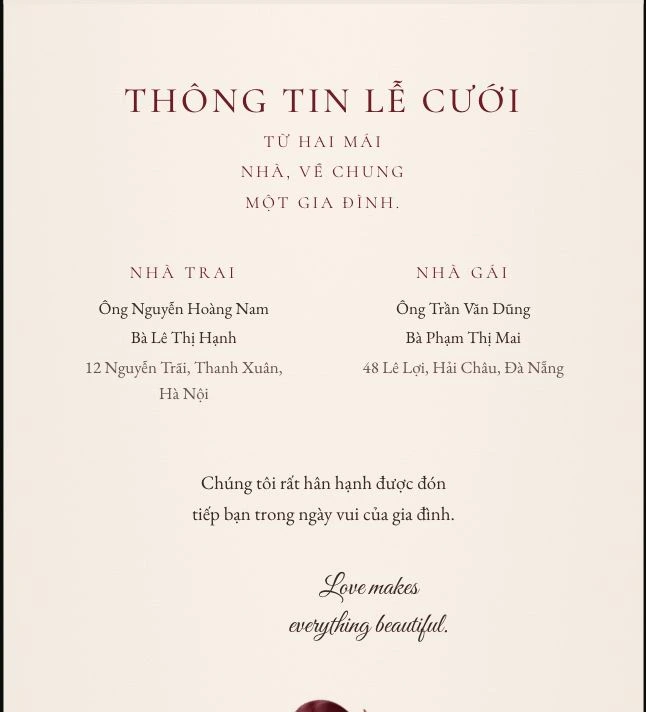
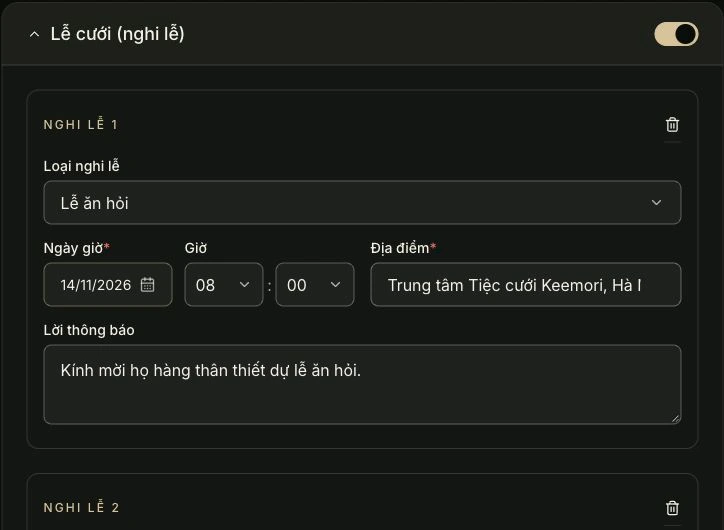
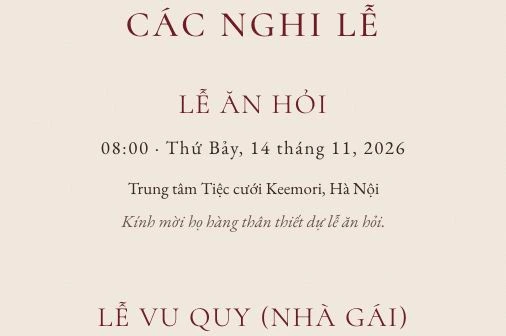
Ceremony type. Sets the heading, such as “Lễ ăn hỏi”. Choosing another type reveals a custom-name field. Each added ceremony creates a similar entry.
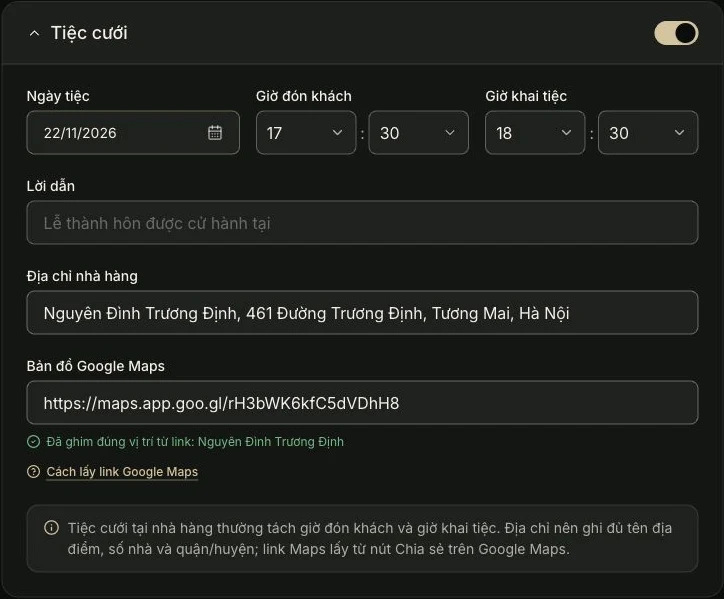
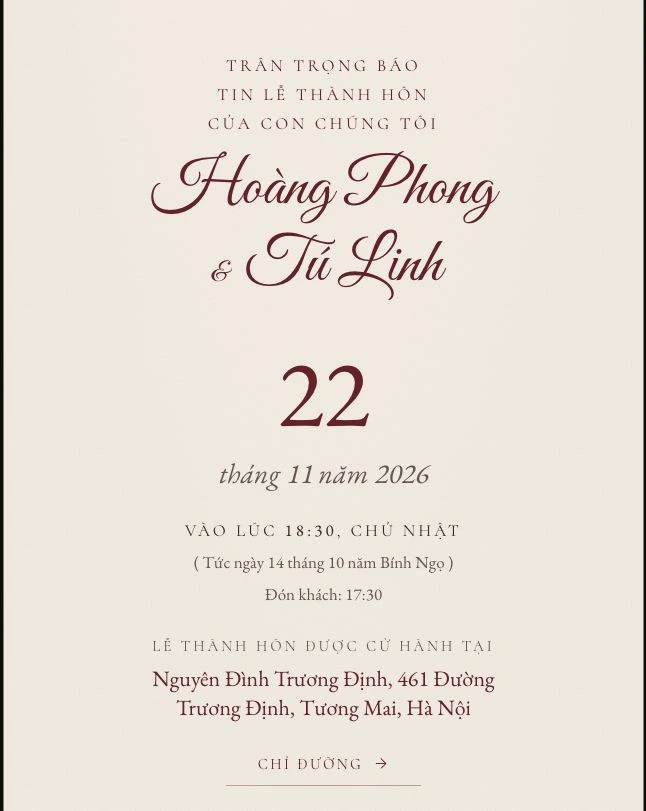
Reception date. Creates the large day number and month/year line. The weekday and lunar date are calculated automatically; the date is also repeated on the cover.
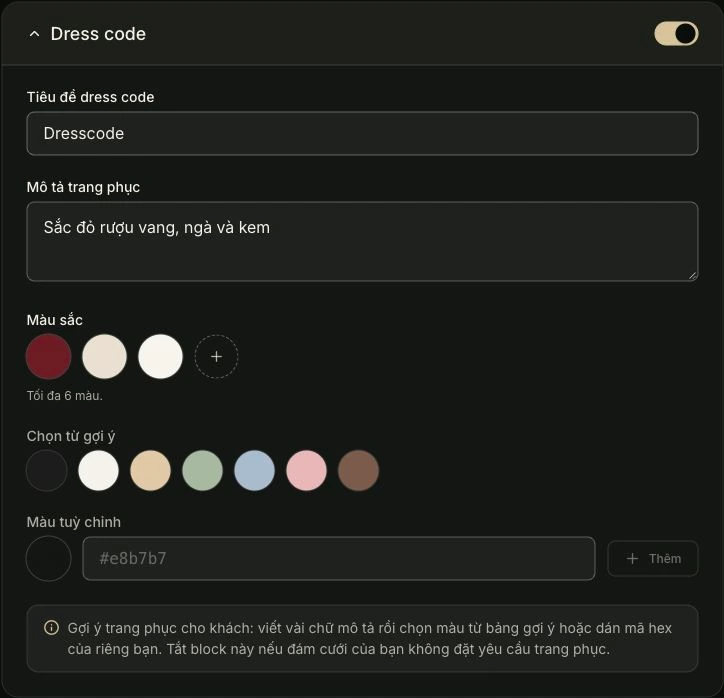
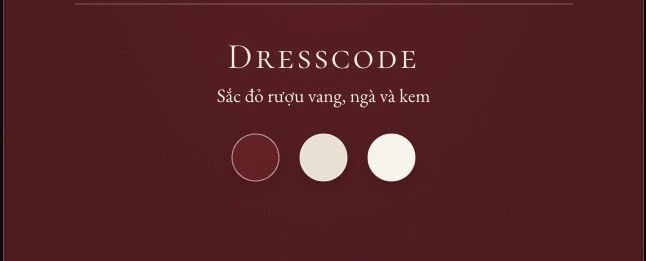
Dress code title. Sets the heading above the color palette.
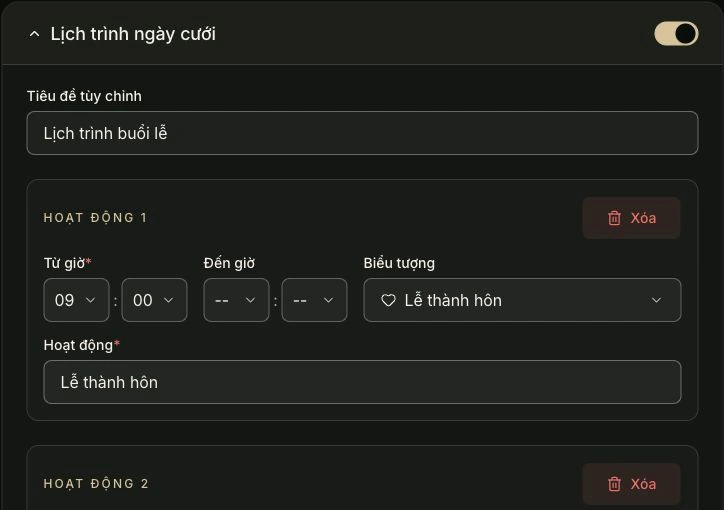
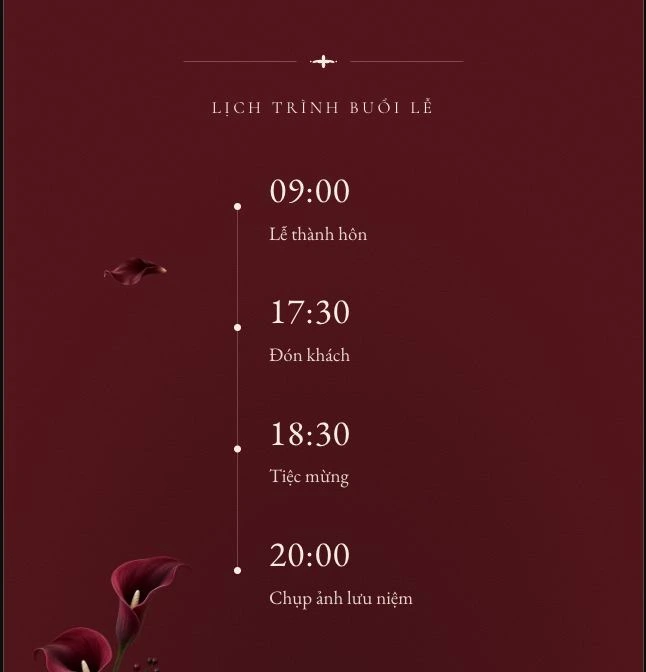
Timeline title. Appears above the schedule, such as “Lịch trình buổi lễ”.
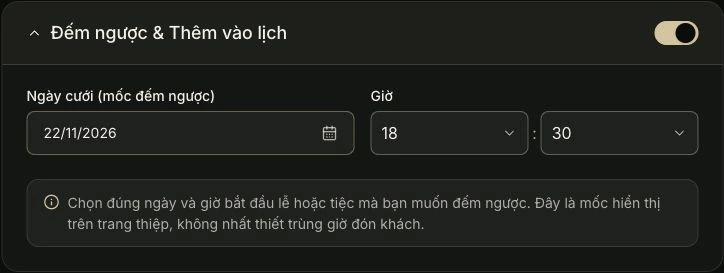
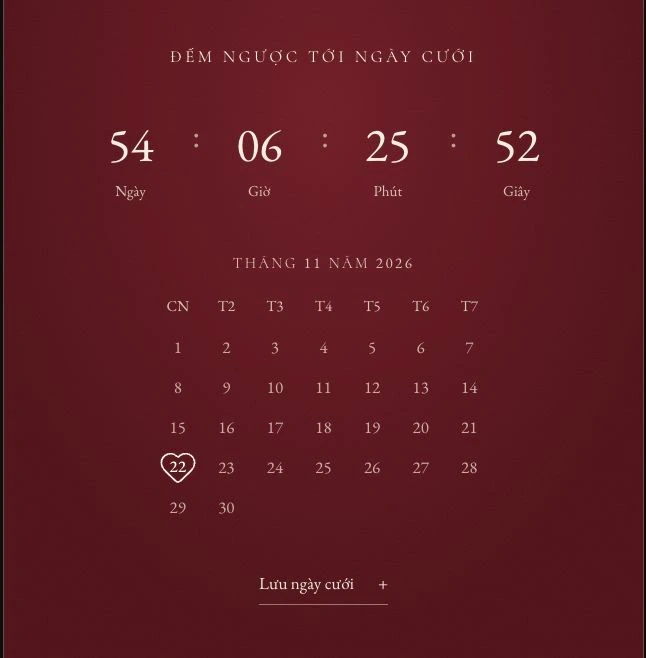
Countdown date. Marks the wedding date on the calendar. This is a separate countdown/calendar setting; check that it agrees with your reception date.
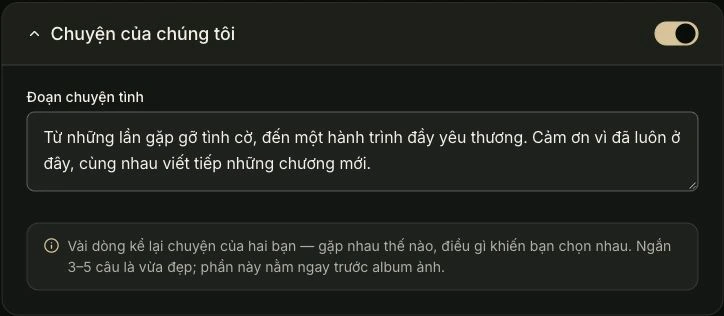
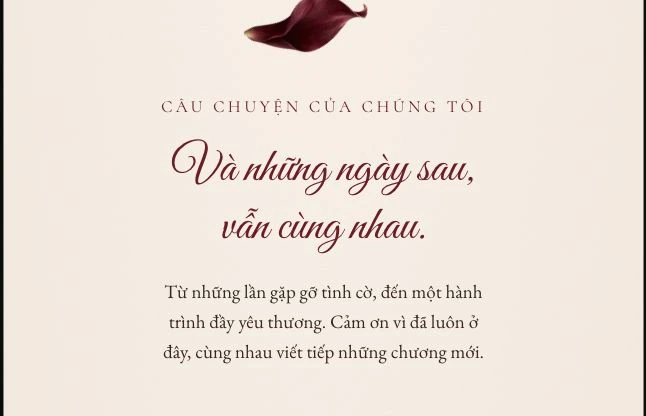
Your story. Appears below the story heading and above the stationery photographs.
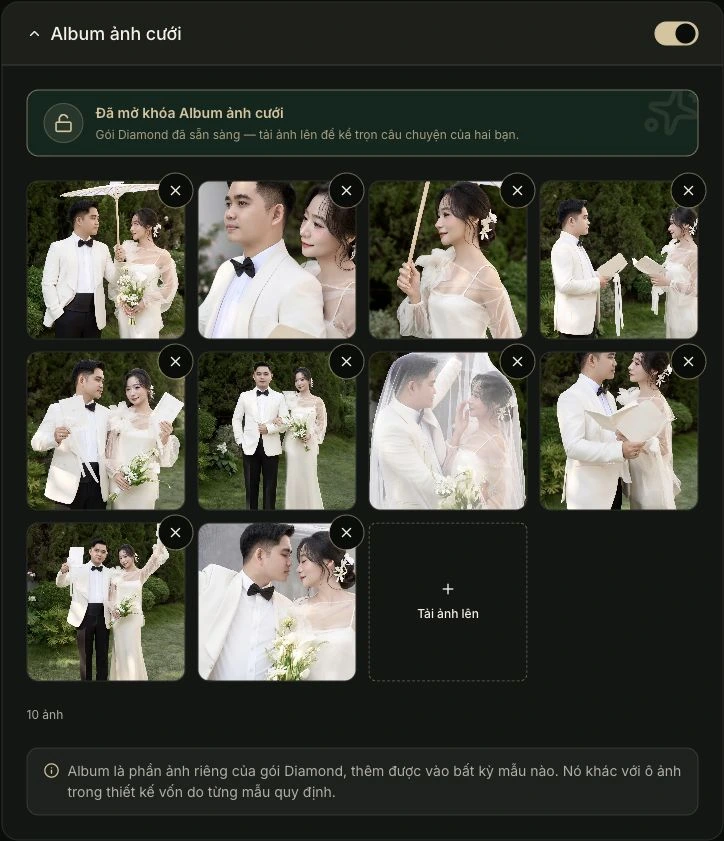
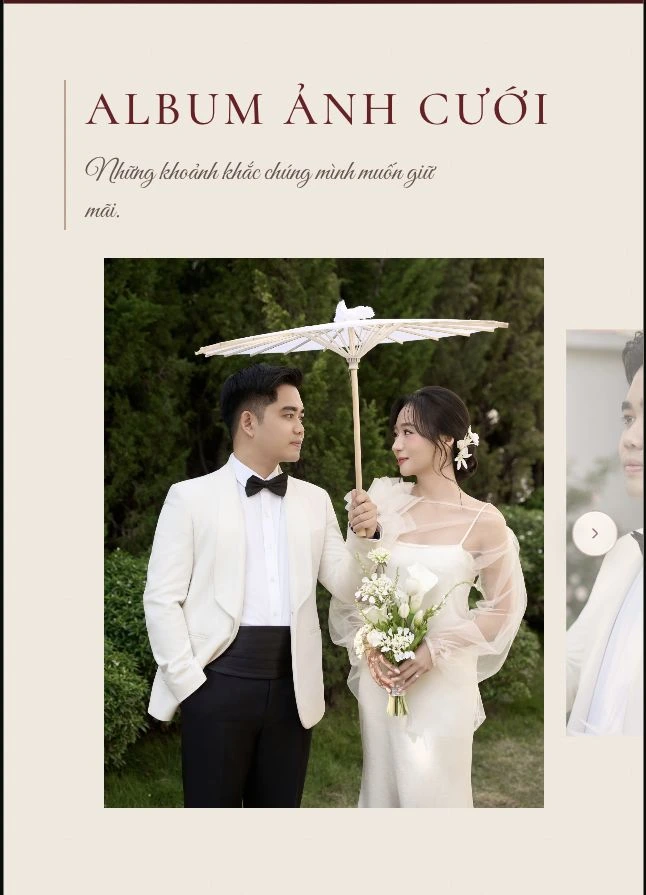
Wedding album. Uploaded photos appear in a horizontal album. Tap to enlarge. This is separate from the three design photo slots and requires Diamond.
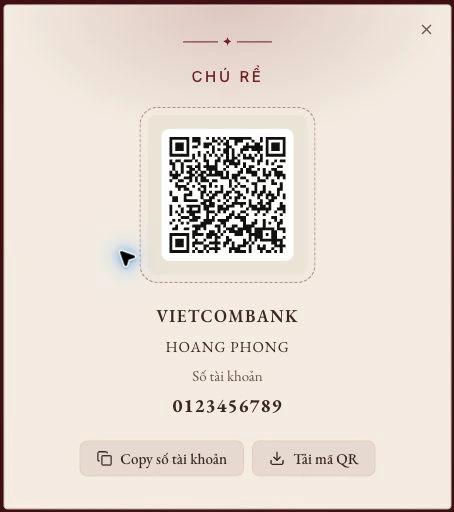
Groom’s bank. Appears after opening the Groom envelope and is used to generate its transfer QR code.
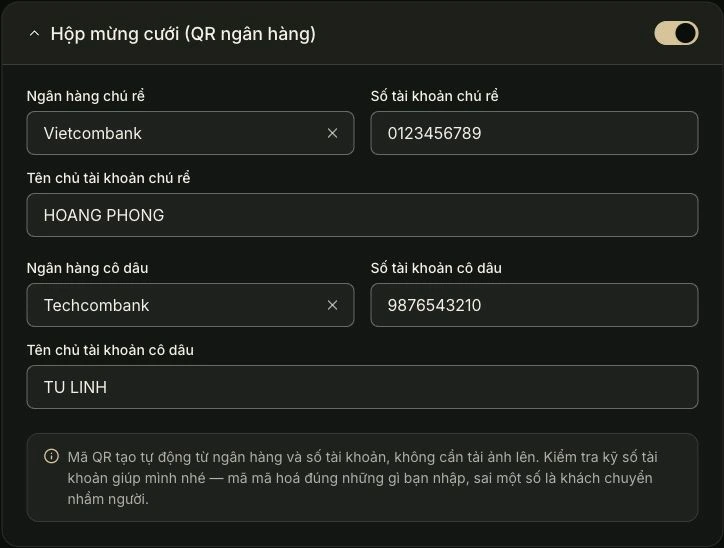
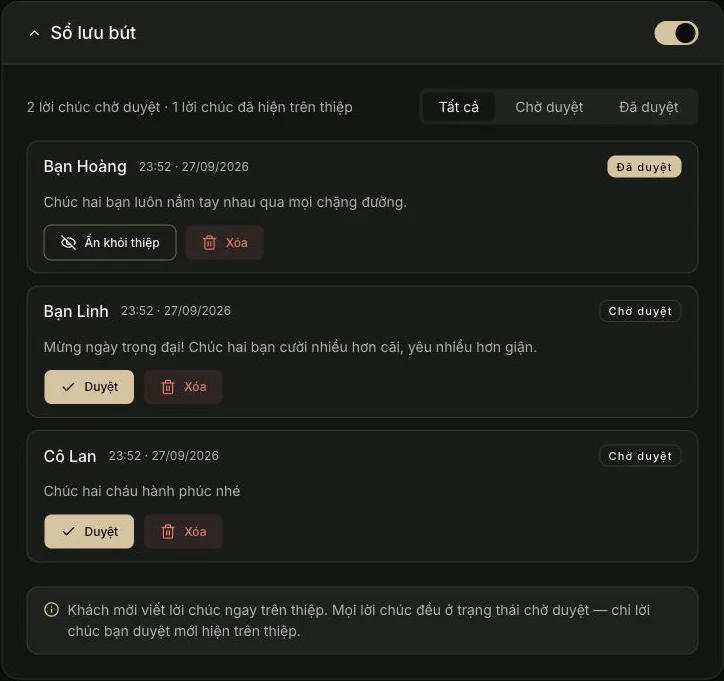
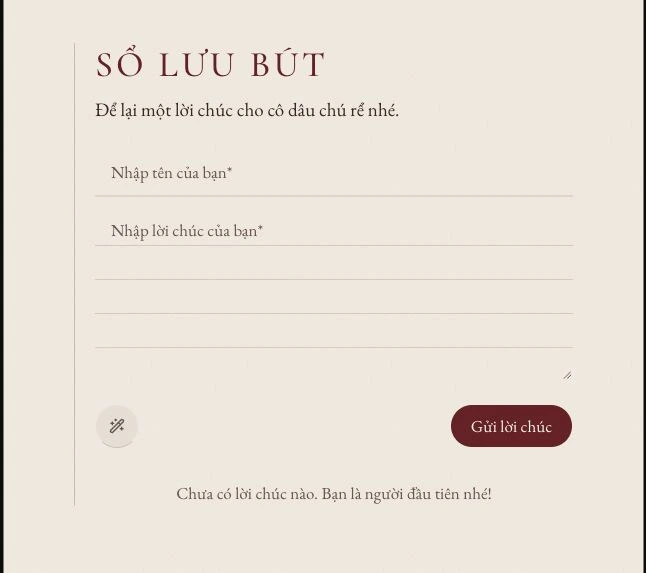
Guestbook. Enables the guest wish form. The editor list is for moderation; only approved wishes appear publicly. This preview shows the form’s position.
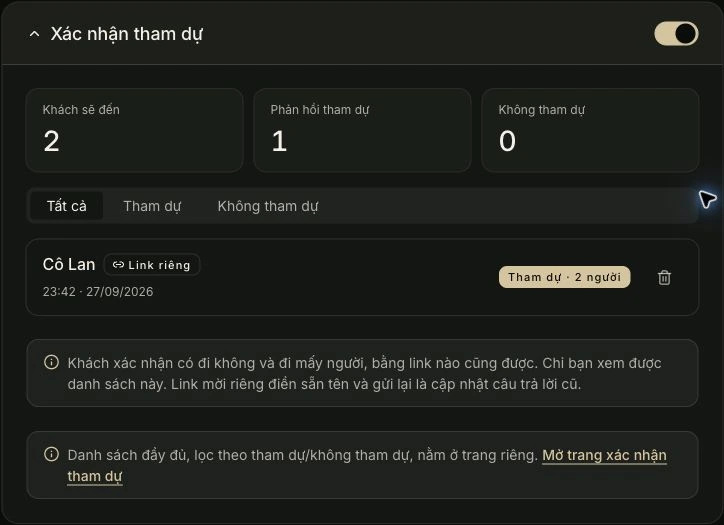
RSVP. Enables the guest name, attendance and party-size form. Response lists and totals in the editor are private to the owner. Available from Gold.
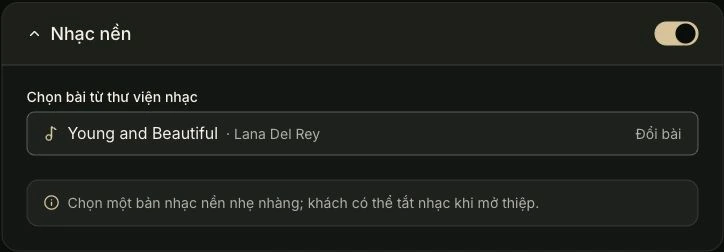
Background music. The track plays through the floating round button. Its title is not printed on the invitation. Guests can toggle playback; browsers may require a tap first.

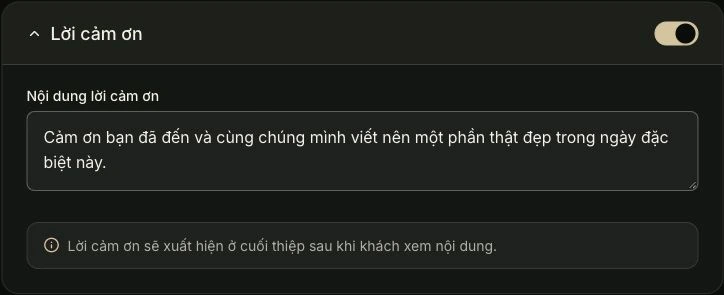
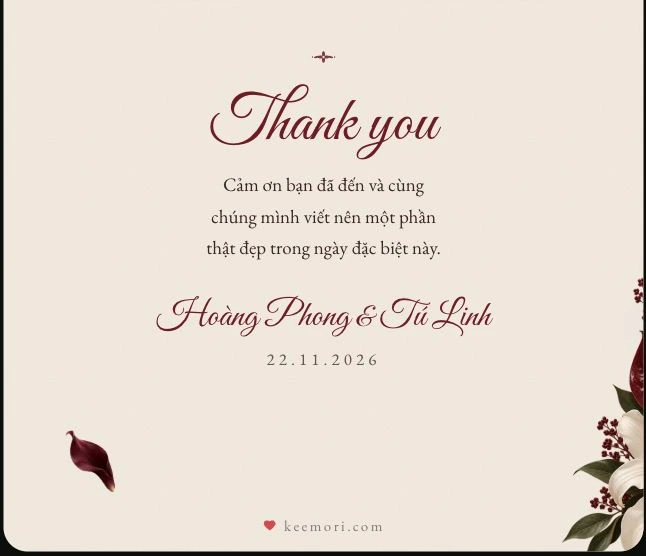
Thank-you message. Appears below “Thank you” at the end of the invitation.
Example: Hoàng Phong & Tú Linh · Burgundy Red · Diamond. Positions are specific to this design. Use each section’s switch to show or hide it. Pictured details and bank accounts are examples. Screenshots capture this invitation at one point in time and do not change when the saved invitation is edited later.
Try the editor before signing in. When you are ready, sign in and select Save & Create link to save the invitation to your account.
Explore 60+ templates and try a working invitation before choosing the style for your wedding.
Open Templates and filter by plan, style or color, or search for a template by name.
Open a template’s details and preview. Scroll through the envelope, photos, ceremony and reception sections on both a phone and a computer.
Free templates have no personal photo slots; Gold templates have 1–3. Photo albums require the Diamond plan. Review the features and pricing before choosing.
Select Use this template to open the editor. You can enter your content and preview it before signing in.
Enter your wedding details, add photos and review each section before creating a link for your guests.
Enter the couple’s full names and optional nicknames for the envelope. Check parents’ names and how each family is addressed.
Enter the date, time and place for each ceremony and the reception in their own sections. Check the reception Directions button and review every ceremony separately.
Choose cover and couple photos for the template’s slots. Photos upload as soon as you pick them, even before you sign in. With Diamond, add a wedding album. Preview to check that faces are not cropped and text stays readable.
Add your story, timeline, music, thank-you message or gift details as needed. Use each section’s switch to hide anything you do not want to show.
Open Preview and check phone and desktop layouts. Review spelling, dates, photos, music and maps. If you used sample data, replace all example details before sharing.
Gather these before opening the editor and you'll finish the whole invitation in one go.
Open the link on a phone to check text size, photo cropping and buttons. Ask someone to double-check names, dates and times.
One tap opens Google Maps. Add the street number and district for guests travelling from out of town.
Try opening the envelope and using the music control on a phone. The browser may need a tap before audio can play.
Older relatives still get a paper invitation, while the map and timeline stay up to date.
Choose a design and try the editor for free. Upgrade the same invitation if you need more features.